Adding SQL Instances
Connecting SQLBench to a SQL Server system requires only a few, simple steps.
The SQLBench Agent Config utility is used exclusively for adding SQL Server systems to SQLBench. The SQLBench Web Portal is not be used for adding or removing SQL Server systems from SQLBench monitoring.
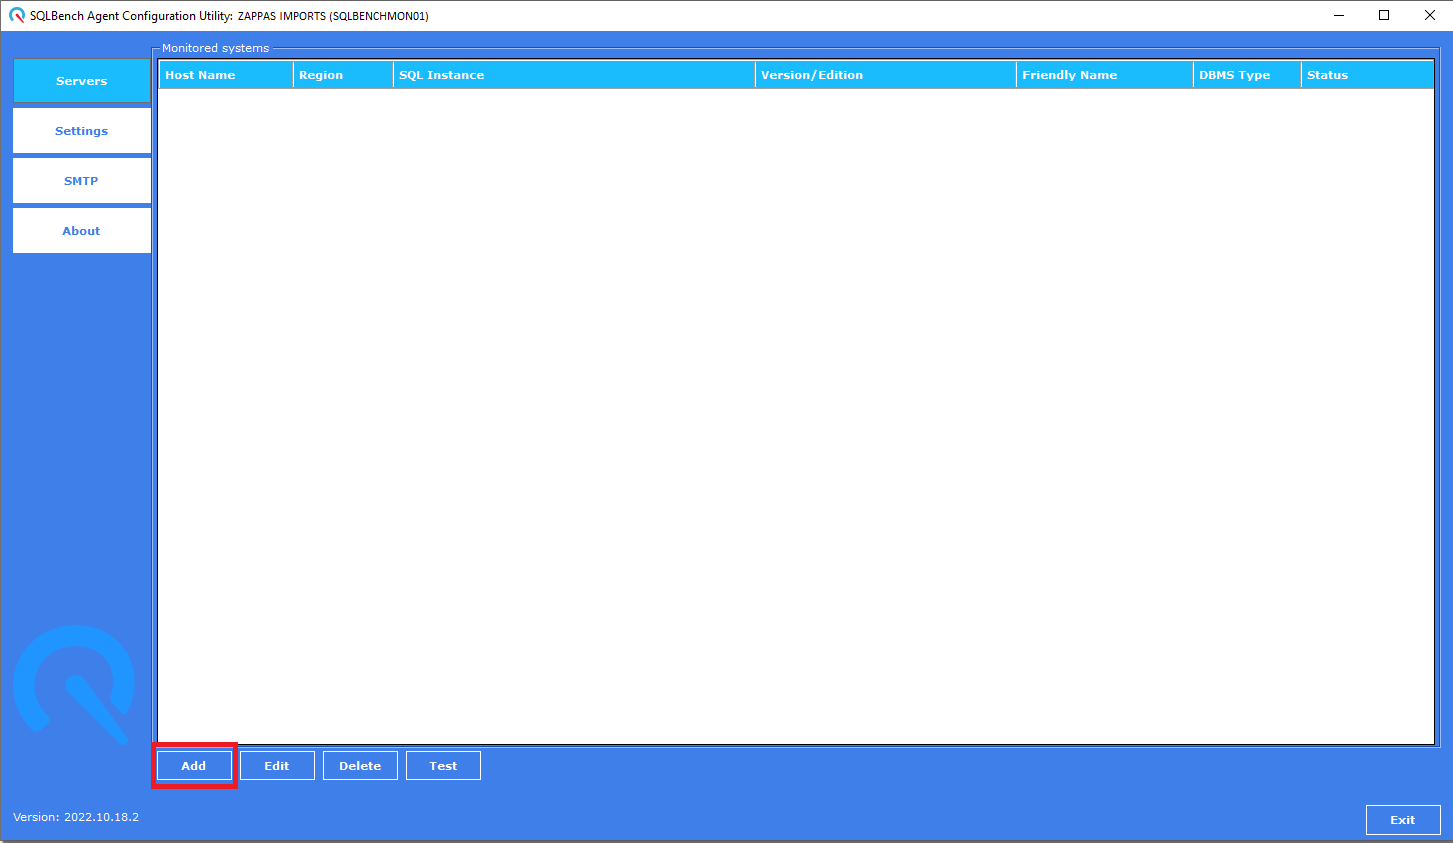
Open the SQLBench Config Utility
Start by opening the SQLbench config utility.
Click "Add" to add a new SQL Server instance into monitoring.
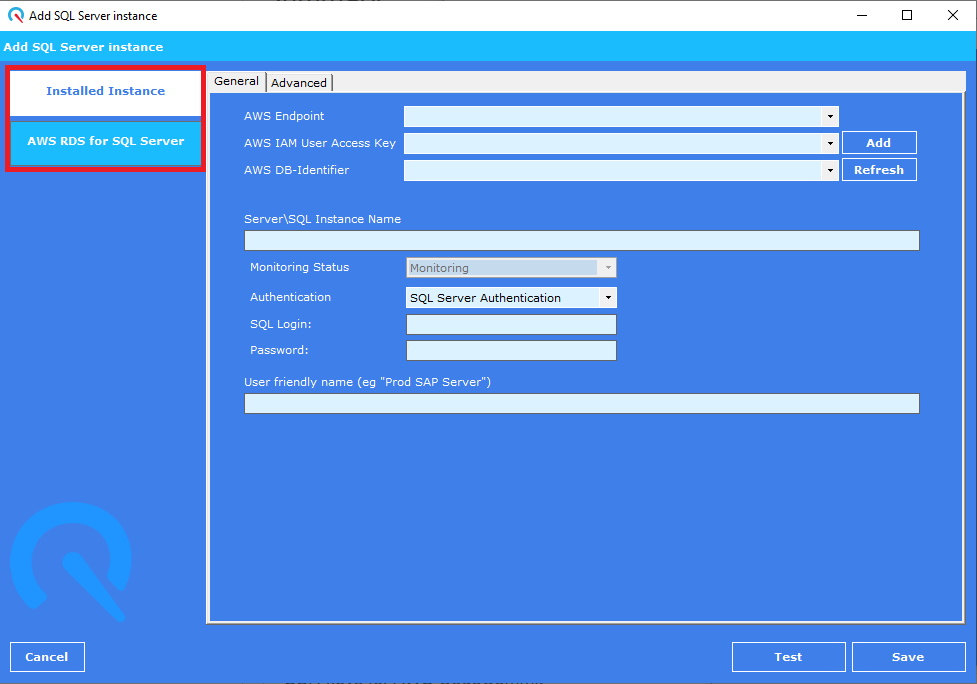
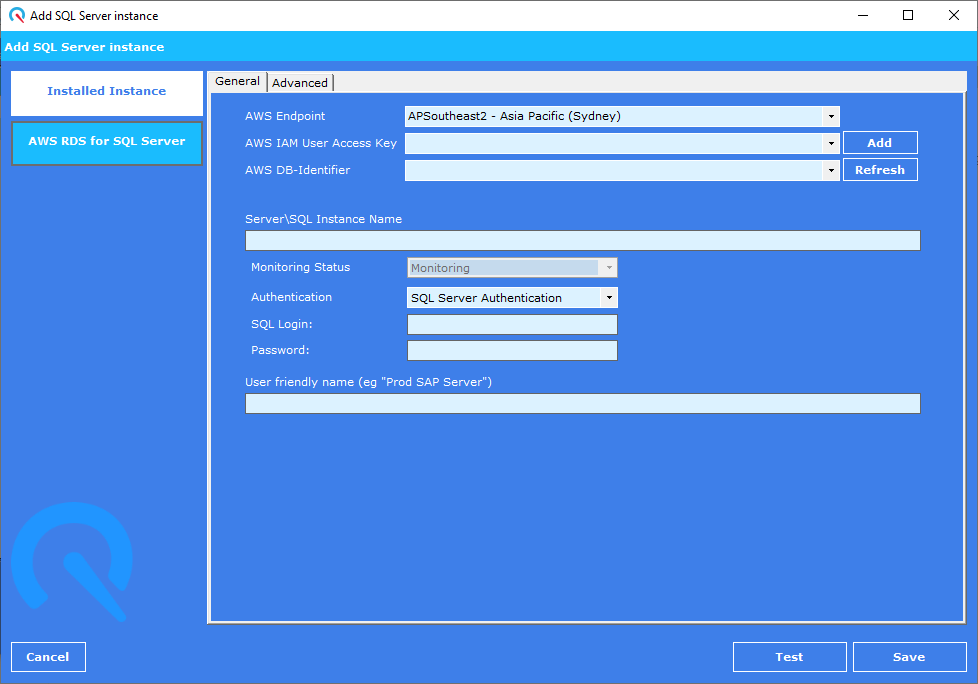
Choose an instance type
SQLBench can monitor SQL Server instances that are (a) installed on physical or virtual hosts, or (b) AWS RDS for SQL Server instances.
Select which instance type you intend to add.
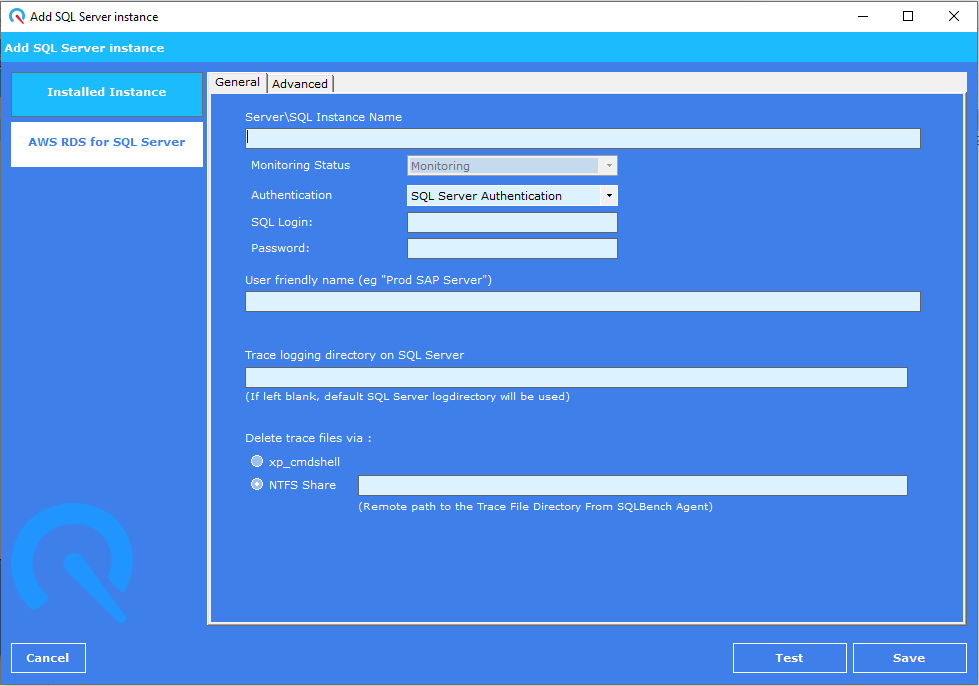
Adding an installed instance
Provide the name of the SQL Server instance and Windows of SQL Server Login details.
Click "Test" to verify that login has the required minimum permissions, then click "Save".
Full instructions to add an installed instance are available here.
Adding an AWS RDS instance
Addin an AWS RDS instance requires obtaining an AWS CloudWatch API key, which is used by the SQLBench Agent to GET host telemetry such as CPU, Memory & Storage utilization which is not available by querying the SQL Server instance.
Steps to obtain an AWS CloudWatch API key with required permissions are available here.
After adding the AWS CloudWatch API key, a list of AWS RDS "DB-Identifiers" should appear in the drop down list, from which you can select the DB-Identifier that you wish to add to monitoring.
Provide the SQL Server Login details and click "Test" to verify that the login has the required minimum permissions, then click "Save".
Full instructions to add an installed instance are available here.
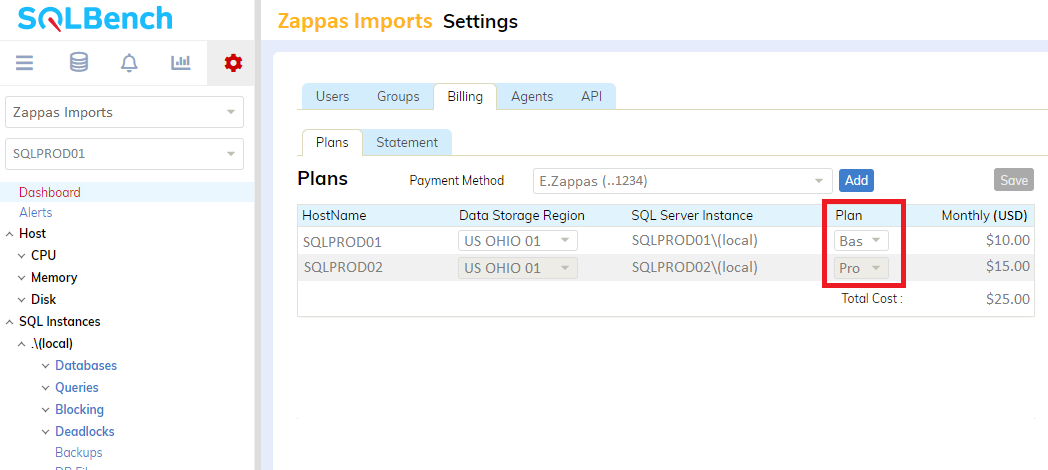
Selecting a Plan Level
After adding a SQL Instance, select a Plan Level via the web portal's account settings page.
Plan Levels affect data retention and feature restriction.
More information about Plan Levels is available here
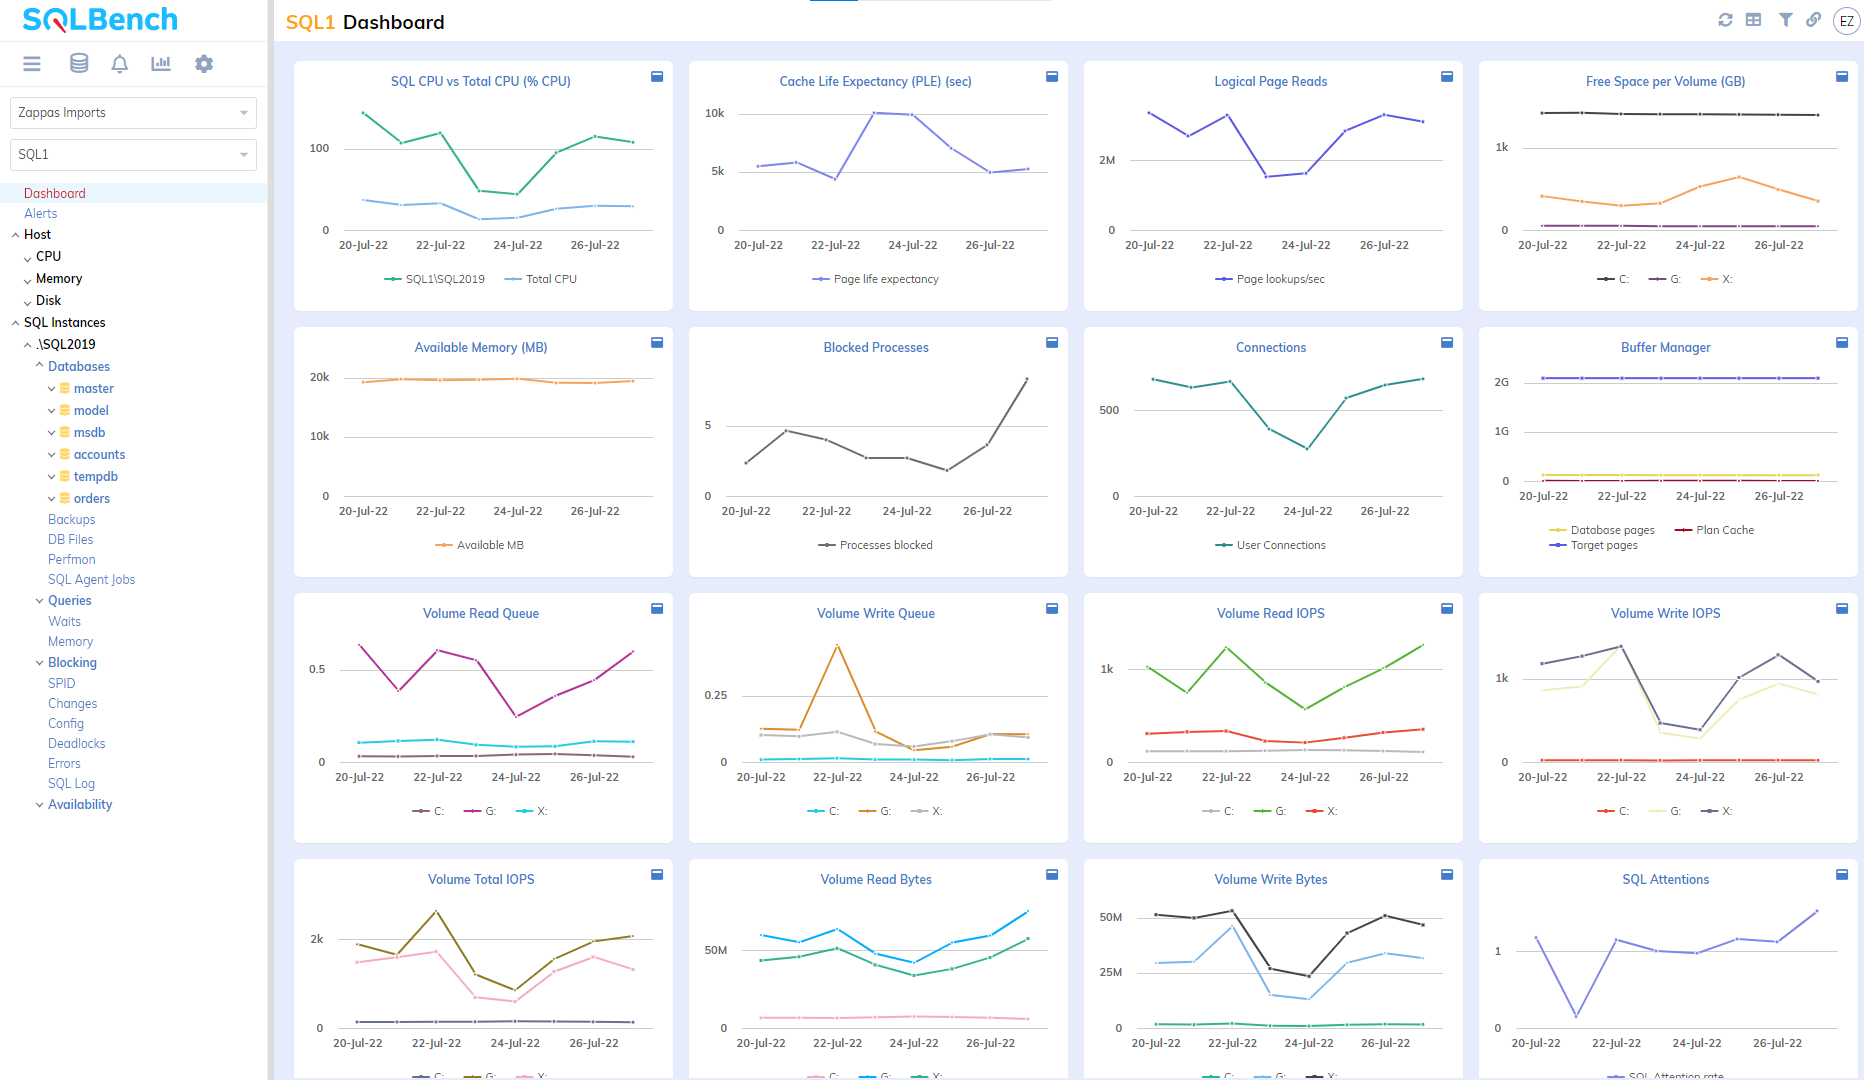
Viewing in the Web Portal
Log in to our web portal to view telemetry, configure alerts or diagnose issues.
Data might take a few minutes to appear, so please wait a little and should expect to see all portal reports populated within an hour or so.